Showing posts with label walnut wood. Show all posts

Monday, March 20, 2023

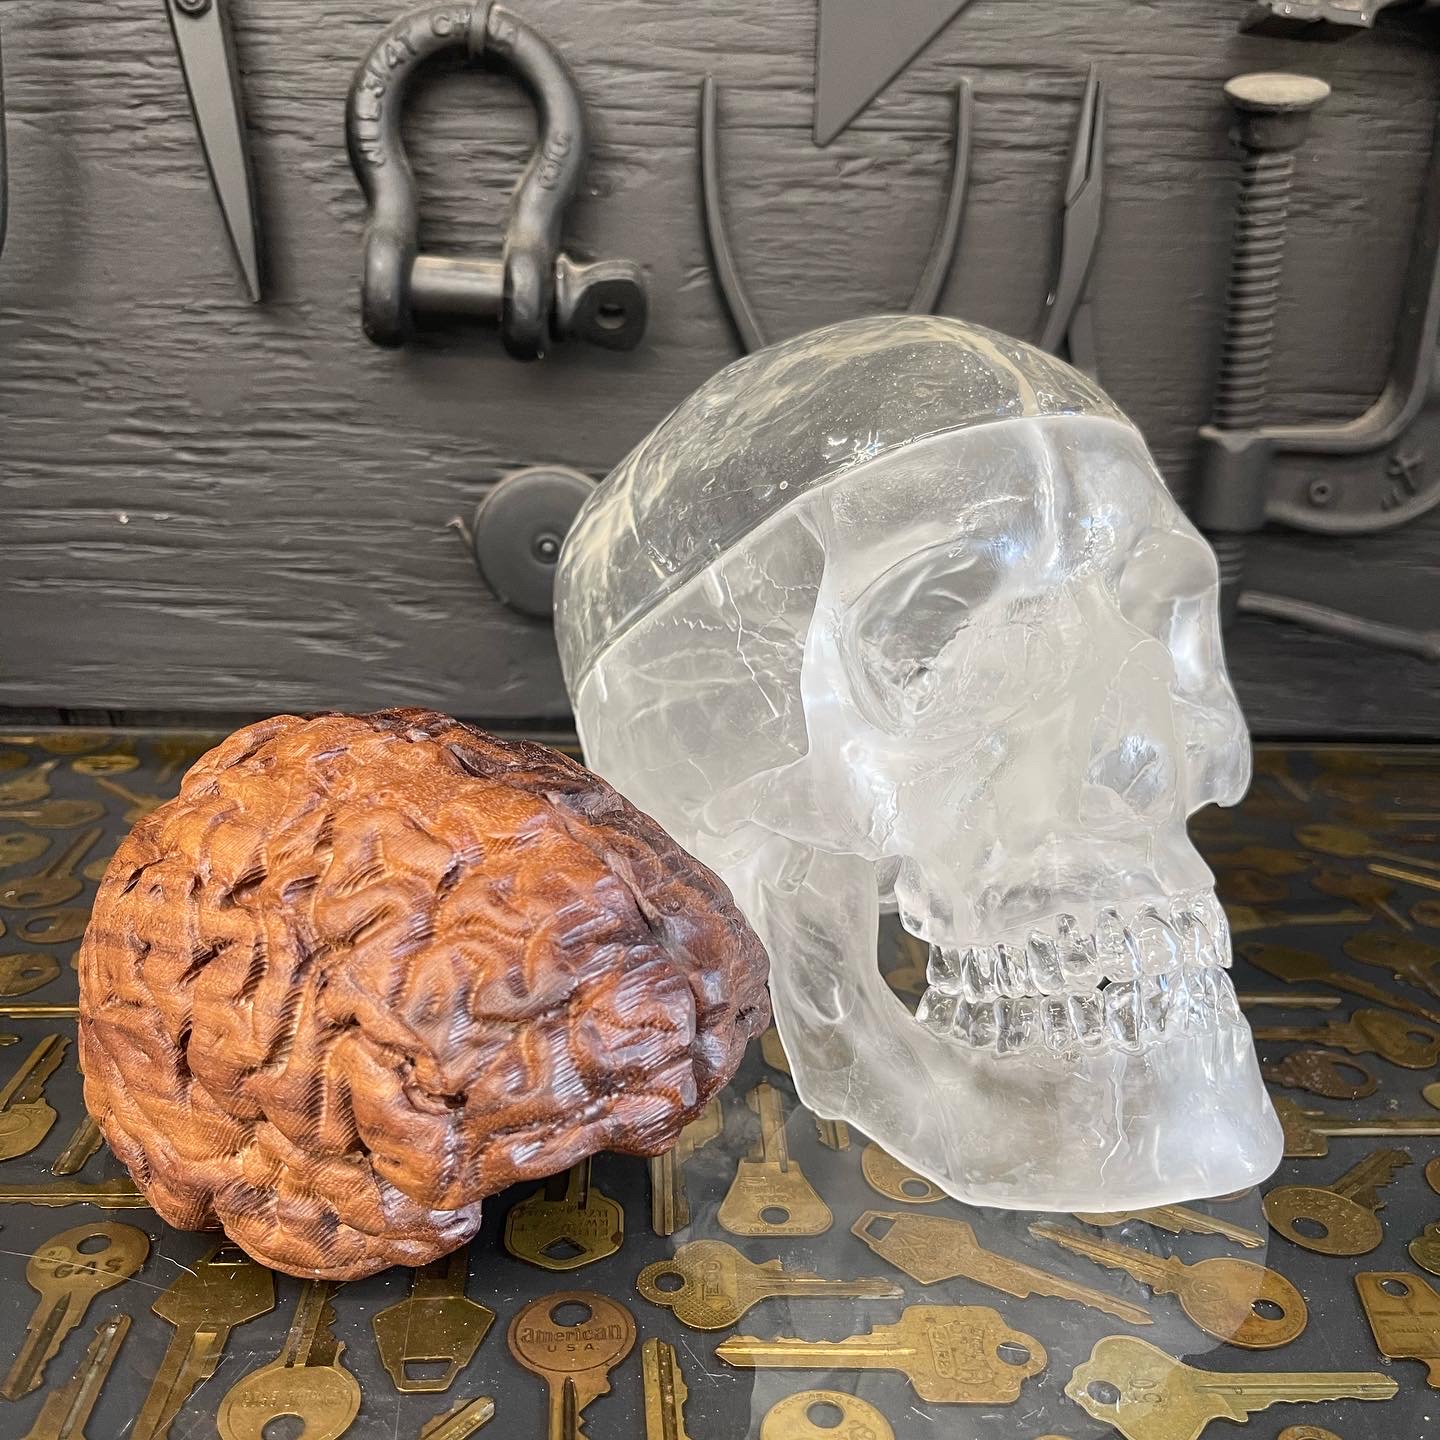
Epoxy Skull and Walnut Wood Brain


Today I’m showing you how I made a life size epoxy skull with a life size walnut wood brain to fit inside. I started by making mini skulls first and figure out what worked and what didn’t. I started by figuring out how to make silicone molds for casting. This took me awhile to figure out which products and methods worked best.


I found that using a pressure pot set at 35-40 PSI when making the silicone molds gets all the tiny bubbles out for a perfect casting. I also used the pressure pot when I poured the epoxy and left it in the pressure pot for 24 hours before de-molding. I used Total Boat thickset for the epoxy, which worked great. I used BBDINO platinum silicone 1:1 mold making for making my silicone molds. Once I figured out the epoxy skulls I moved onto making wood brains to fit inside on my OneFinity CNC.

I then used a Dremel to carve out the underside of the brain so that they fit in the epoxy skulls just right. I finished the wood brains with Total Boats Wood honey, which really brought out the colors of the wood brain. It took a lot of trial and errors to get the final results but over all I’m very happy with how they turned out. I’ll have a limited run of the epoxy skulls and wood brains for sale on my website. I hope you enjoyed this video and found some useful information. Thanks for checking out the how the project turned out over all. I'd love to hear your thoughts on this video and I'd love to see what you make, and be sure to tag me when you do @Wood_Brain on Instagram. Link to website: https://wood-brain-by-lindsay-zuelich... Materials used: Total Boat Thickset epoxy Total Boat Wood Honey Total Boat special brush cleaner BBDINO platinum silicone Walnut wood OneFinity CNC
šŸ“± Follow Me for More DIY Inspiration: Instagram & TikTok: @Wood_Brain Patreon:   / wood_brain  


Wednesday, January 16, 2013

The Rhino Project - by Wood Brain


I've love those Nation Geographic documentaries about far off places like Africa and recently I did my part to help save a Rhino in need. One day while at my shop at CRAFTED, a cute little lady approached me looking for the Wood Brain person that she had heard so much about.


She told me how her husband had brought this hand sculpted wood Rhino back from Italy and somehow one of its ears had broken off. She was really upset and was on a mission to bring her Rhino back to its original state. She asked me to take a look at it and see if there was anything I could do for him.  When I picked him up I was surprised at how heavy he was. I could tell right away that this little guy was special and was made of an exotic wood most likely ebony, it was deceiving in weight. There was great deal of care that went into the construction of this little guy.


From time to time I receive unique request for custom wood working projects, and this was definitely one of those projects. I quoted her a good price for the restoration of her Rhino's ears, which she happily agreed upon.

I had never saved a Rhino before, but I know that if I put my Wood Brain to it that I could help bring this little guy back to normal. I informed her that it would be best to make a set of two new ears for him and that the procedure would take me a few days, but would need about a week to recover before being returned back to her.

I transported the Rhino to the Wood Brain Workshop and after getting him settled in I went looking through my exotic wood collection to see what would work best for his new set of ears. I found a great piece of dark walnut that I knew would work as a good foundation for his new ears. I carefully removed his existing left ear and placed it on my surgical table which I used as a template for his new replacement ears.


I used my scroll saw to cut out the new set of ears and with great patience and attention to detail I sculpted the ears out of the walnut wood with my dremmel tool to form the new ears. I then used multiple grit types of sandpaper to achieve the smooth finish his ears needed. It then took me two more diligent days of staining the walnut wooden ears to match it's original ebony appearance. After that I attached his new set of ears and allowed him to recover for a few more days.

Once I knew he was strong enough to return, I called my cute new friend to inform her that her Rhino had made a great recovery and arranged for her to pick up her new and improved Rhino at my shop at CRAFTED. When she was reunited with her Rhino, the cute little lady was over joyed. She was so happy to see her Rhino back to his full glory.


Seeing this happy Wood Brain Customer reunited with her wood Rhino is what keeps my passion for wood working fueled.